Installing Red Hat Satellite 6
Part 2: Installing Red Hat Satellite 6
Let’s get Satellite up and running, we want to try and keep it as light weight as possible as the idea is we are able to keep storage and resources to a minimum since we’re focusing on build this all on a laptop with KVM. Of course you can replicate this on a much bigger home lab if you have one.
The Satellite VM on KVM will need at least 12GB of Ram and if you can spare, 2 CPU’s. You can get away with around 300GB of storage but the more the better. In this case here I have the VM running on an external 2TB drive via USB3 and it’s not the fastest but still does the job and performs well enough. Once you’ve created a VM with adequate resources, attach the RHEL 7 ISO and start building the machine. Don’t forget to use the network we just created that has no active DHCP.
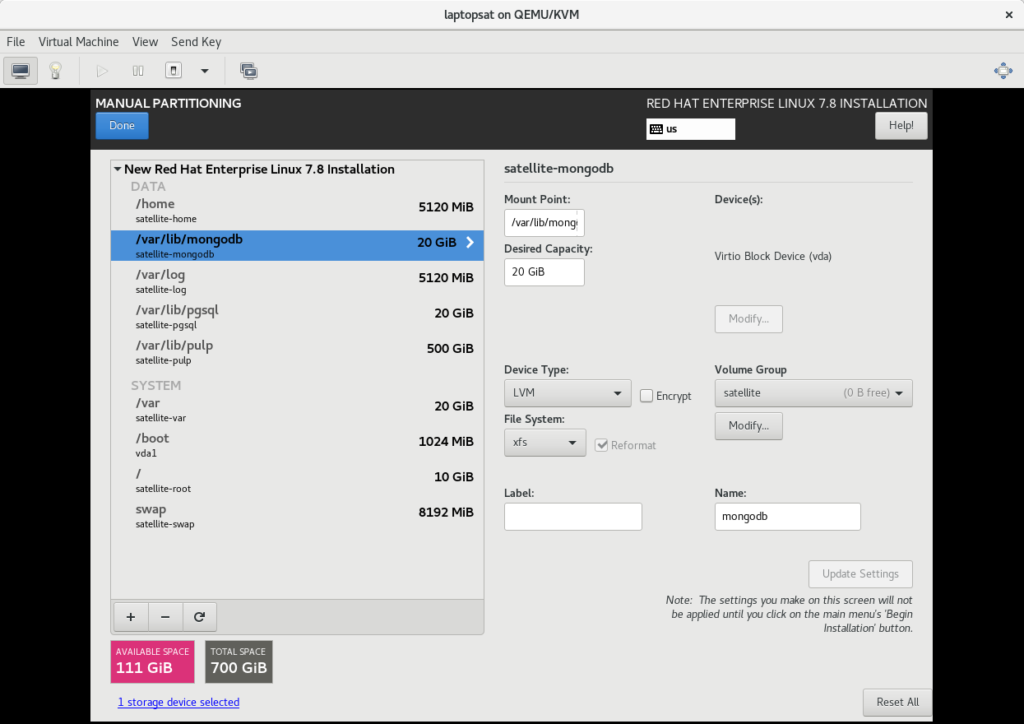
This is how I did my LVM but you can reduce the sizes as you see fit.
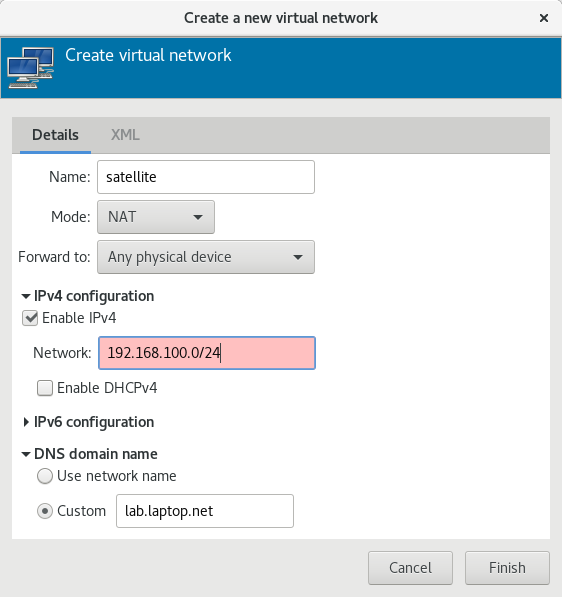
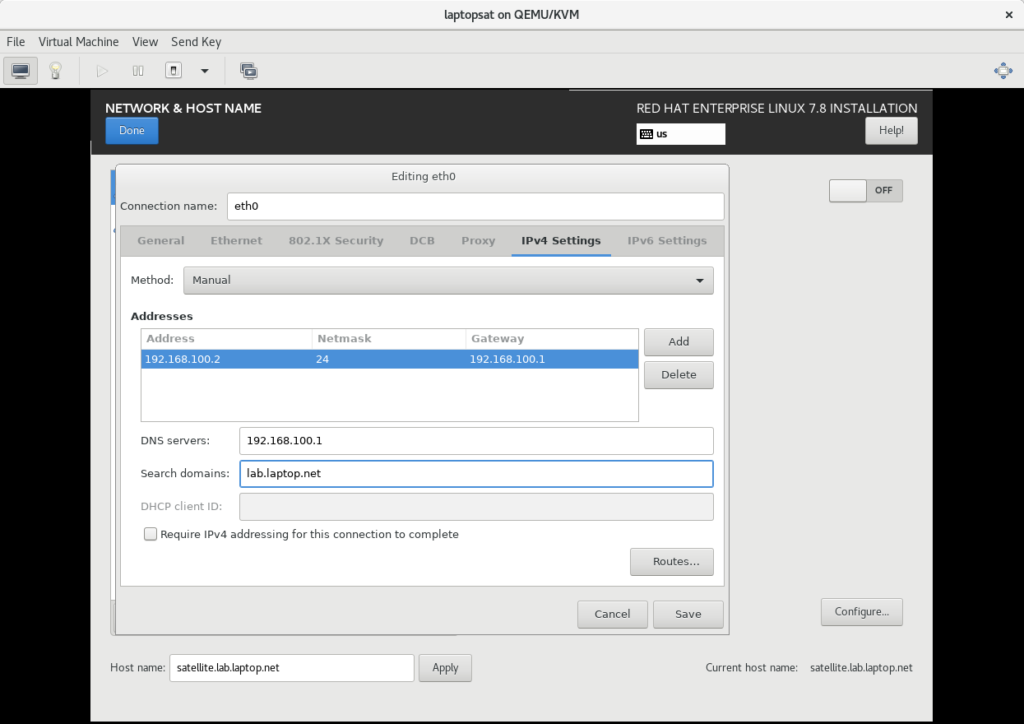
Make sure to configure your network since there is no active DHCP on the subnet
Start building the VM, set a root password and I generally set a local account as well. Once that has finished building, reboot the VM and try and SSH into it from your laptop. It’ll make copying and pasting much easier. The gateway will allow us to get to the internet as we need to register the OS and assign the Satellite subscription to start downloading and installing. Once you’ve done that, it’s time to start building Satellite. You can copy and paste the commands below as well.
# subscription-manager repos --enable=rhel-7-server-rpms --enable=rhel-7-server-satellite-6.7-rpms --enable=rhel-7-server-satellite-maintenance-6-rpms --enable=rhel-server-rhscl-7-rpms --enable=rhel-7-server-ansible-2.8-rpms
# yum update
# yum install satellite vim iotop yum-utils -y
# firewall-cmd --add-service=RH-Satellite-6 --permanent
# firewall-cmd --reload
Added some handy tools that we may need if we have to troubleshoot. So since there is no active DNS server on this subnet, we need to modify the /etc/hosts on the OS to allow Satellite to install.
# vim /etc/hosts
192.168.100.2 satellite.lab.laptop.net satellite
127.0.0.1   localhost localhost.localdomain localhost4 localhost4.localdomain4
::1         localhost localhost.localdomain localhost6 localhost6.localdomain6
Let’s get started installing! Make sure you change the default admin password once you’ve logged in. I usually set it to something simple
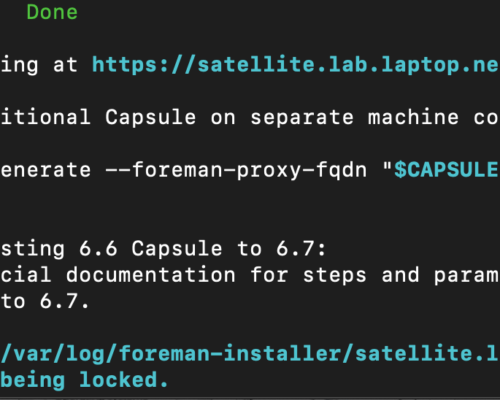
#satellite-installer --scenario satellite --foreman-initial-admin-username admin --foreman-initial-admin-password changeme123Once we have a successful install, open up a browser and browse to the Satellite server now running on your laptop.
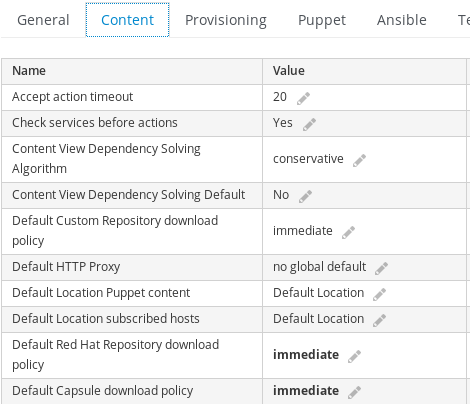
From here, you can login and start configuring around, my advice is that change the default download policy to “immediate” from “on-demand”. You may not have access to internet all the time and having the content stored locally avoids any awkward moments. Navigate to Administrator, Settings, Content and scroll down.
Add the manifest that you were able to generate from the Red Hat Portal and start uploading. This is where the time consuming process begins because we want to enable the necessary repositories and start downloading them. Head over to Content and Red Hat Repositories. Let’s start with enabling the basic few that we need to get going (RHEL 7) and that would be:
Red Hat Enterprise Linux 7 Server RPMs x86_64 7Server rhel-7-server-rpms
Red Hat Satellite Tools 6.7 for RHEL 7 Server RPMs x86_64 rhel-7-server-satellite-tools-6.7-rpms
Red Hat Enterprise Linux 7 Server Kickstart x86_64 7.8 rhel-7-server-kickstart
You can add more if you want such as Extra’s, RH Common, Software Collections and Optional but this will use more storage and just be prepared for the long initial sync times.
Once you have the repositories that you want, it’s time start putting them into a content view and create an activation key. Navigate over to Content and Content Views and click Create New View on the right. Give it a name, I called mine rhel7 and click Save.
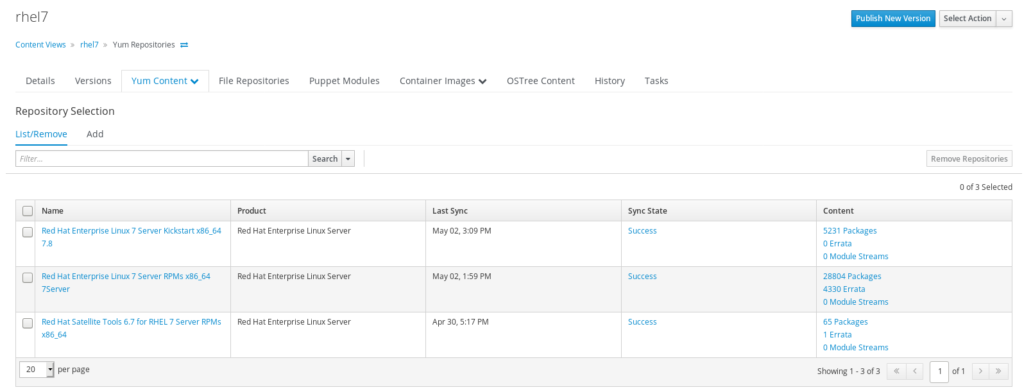
Add the three repositories and click Publish New Version and then Save. This will take a short while so let that run and create the activation key at the same time. Navigate to Content and Activation Key, fill in the details that are required and click save.
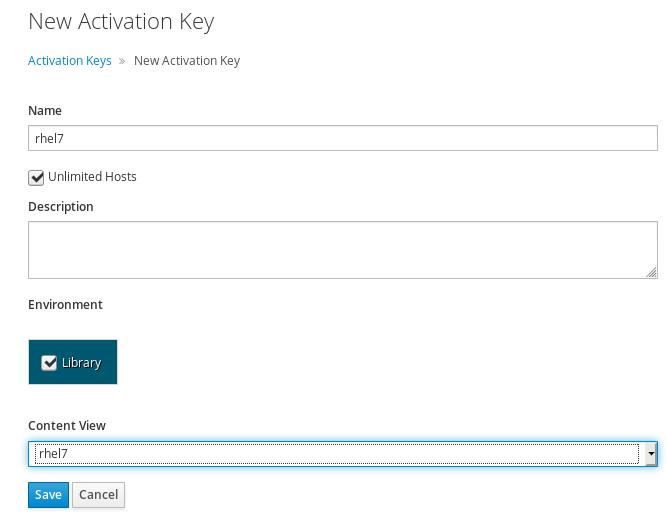
Assign a valid Red Hat Enterprise Linux subscription and then click add. Navigate to Repoistory Set” Tick the limit to environment checkbox and make sure the Satellite Tools repo has been overridden to Enabled.
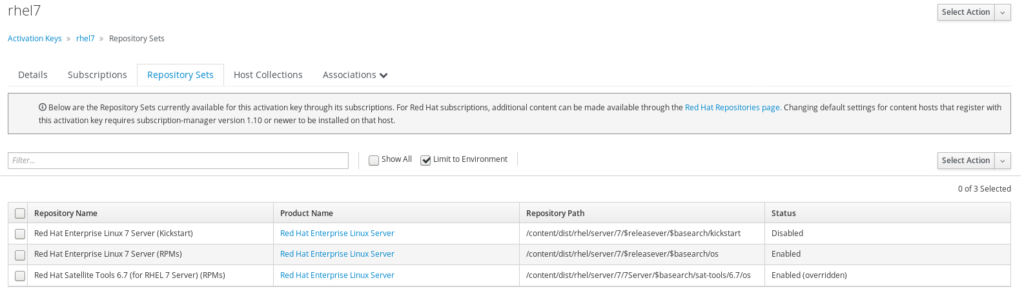
That’s it! At this point you can even register an already built host to Satellite but we want to kickstart a new build.