Configuring Red Hat Satellite for DHCP, DNS and TFTP
Part 3: Configuring Red Hat Satellite for DHCP and DNS
Now we get into the configuration side on Satellite to get it to perform a basic kickstart for you. We’ll be using the standard templates as you can modify and adjust to your liking. First of all, we need to setup Satellite so that it will be our DHCP, DNS and TFTP server using the satellite-installer commands.
# satellite-installer --scenario satellite \
--foreman-proxy-dns true \
--foreman-proxy-dns-managed true \
--foreman-proxy-dns-interface eth0 \
--foreman-proxy-dns-zone lab.laptop.net \
--foreman-proxy-dns-reverse 100.168.192.in-addr.arpa \
--foreman-proxy-dhcp true \
--foreman-proxy-dhcp-managed true \
--foreman-proxy-dhcp-interface eth0 \
--foreman-proxy-dhcp-range "192.168.100.100 192.168.100.150" \
--foreman-proxy-dhcp-gateway 192.168.100.1 \
--foreman-proxy-dhcp-nameservers 192.168.100.2 \
--foreman-proxy-dhcp-server 192.168.100.2 \
--foreman-proxy-tftp true \
--foreman-proxy-tftp-managed true \
--foreman-proxy-tftp-servername 192.168.100.2
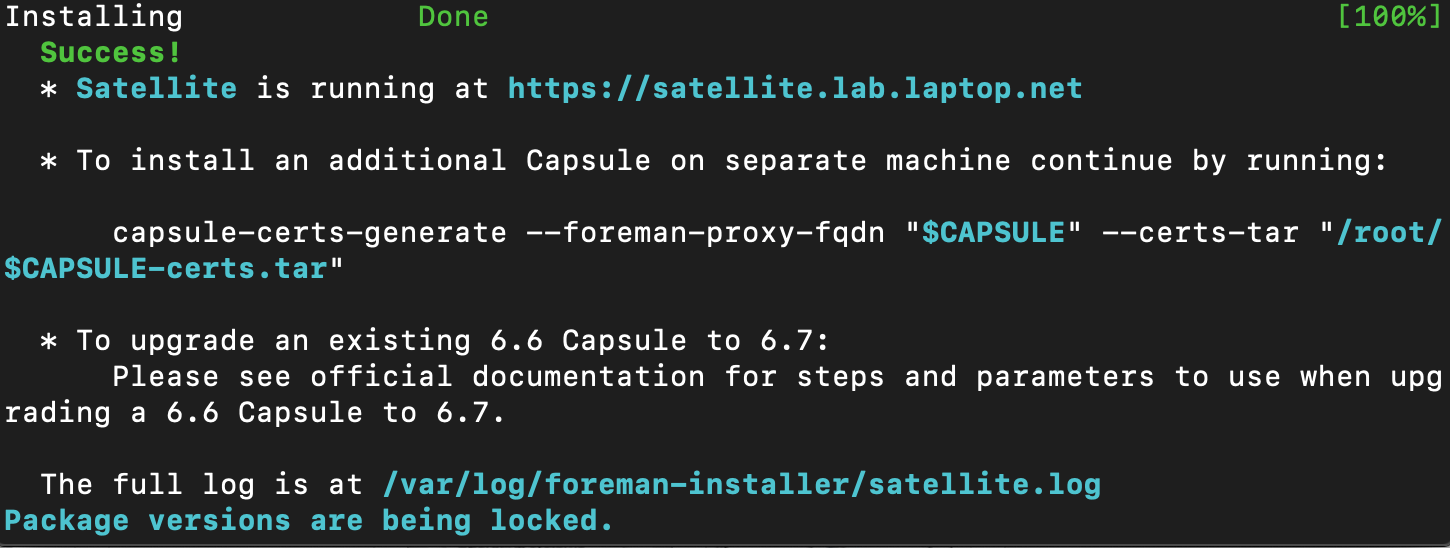
Package versions are locked. Continuing with unlock.
Installing Done [100%]
Success!
* Satellite is running at https://satellite.lab.laptop.net
Once you see the success message, head back over to the GUI and we need to do the following.
Subnet:
Infrastructure > Subnets > Create Subnet
Fill out the details as listed in the below images
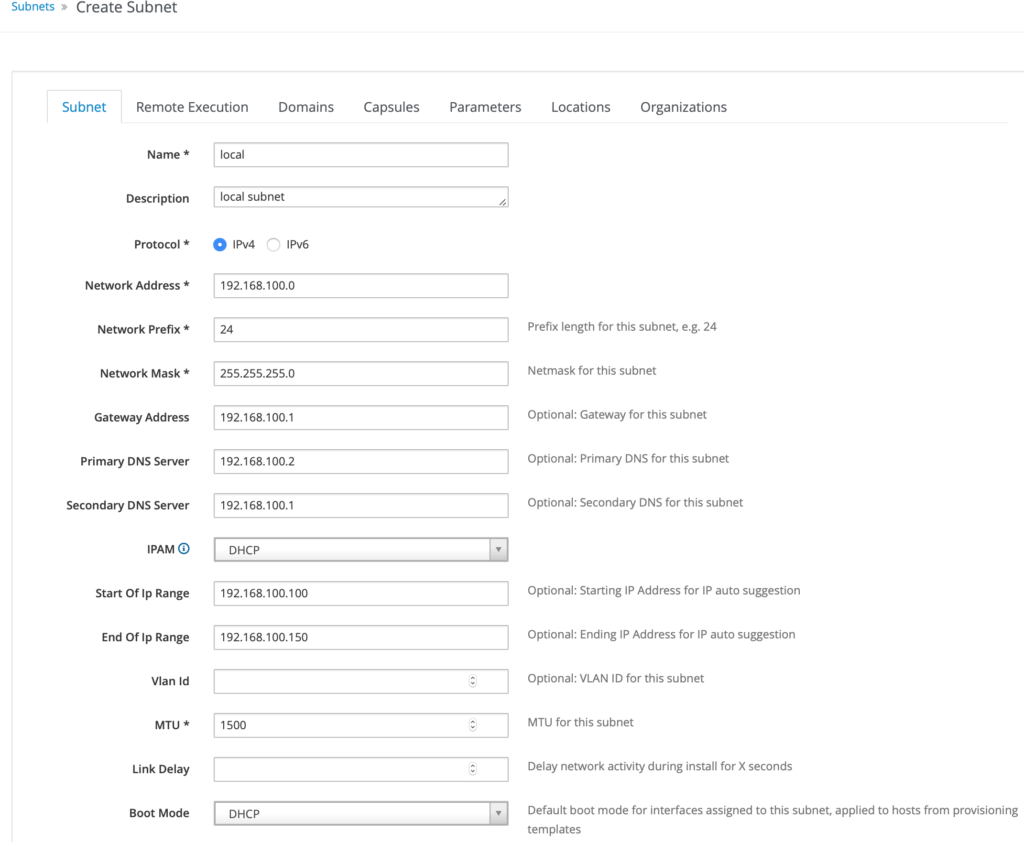

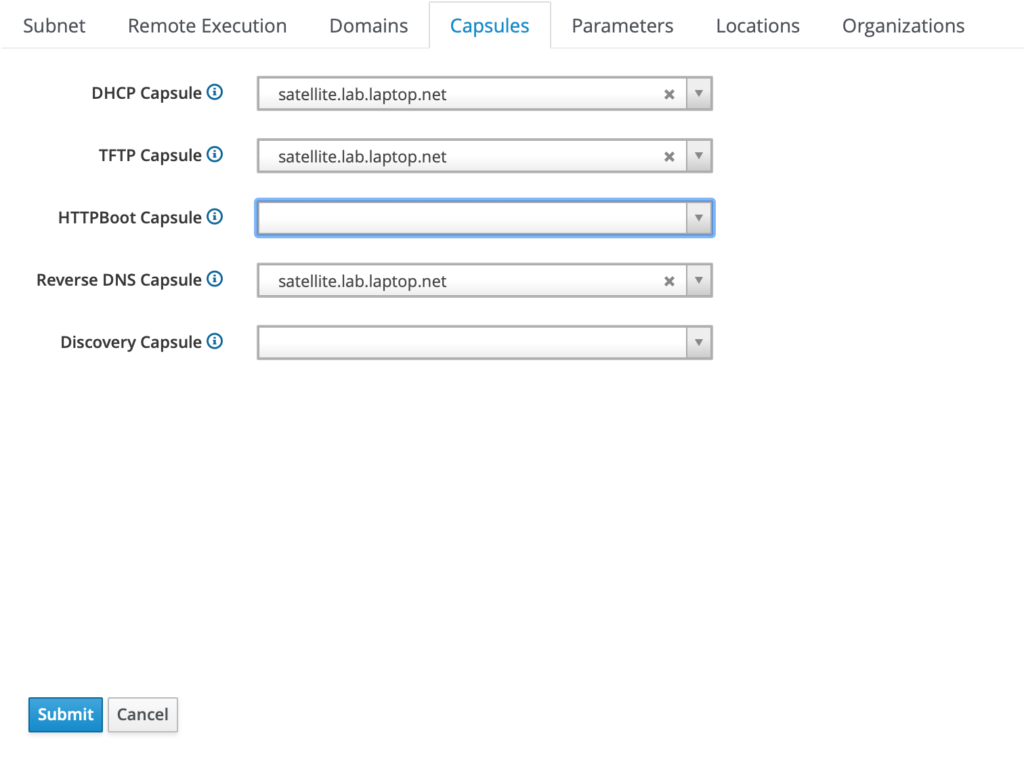
After this is done, click submit and we have now setup the subnet for provisioning from Satellite.
Click on Infrastructure > Domain > lab.laptop.net
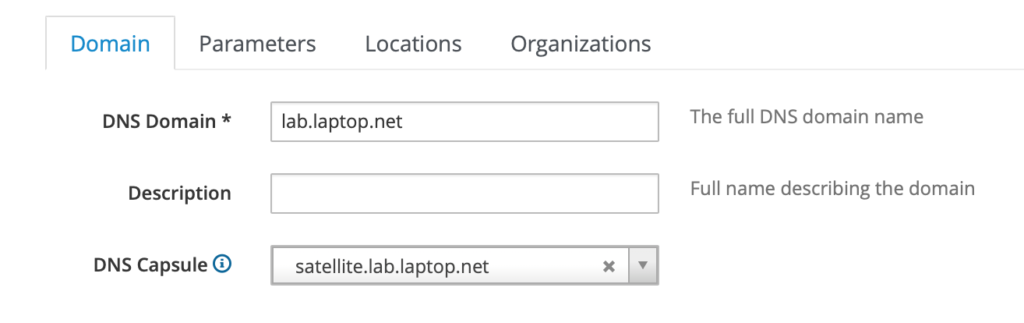
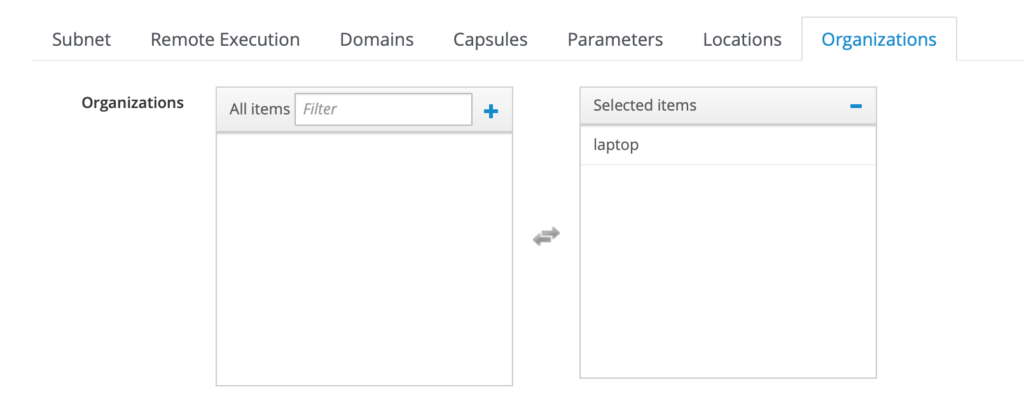
Assign the location and Organisation to the domain, similar to how we did this for the subnet. Thats it for the domain configured.
Now to configure the Host Group which we assign to a host we want to kickstart. We are going to keep this fairly simple and barebones.
Configure > Create Host Group
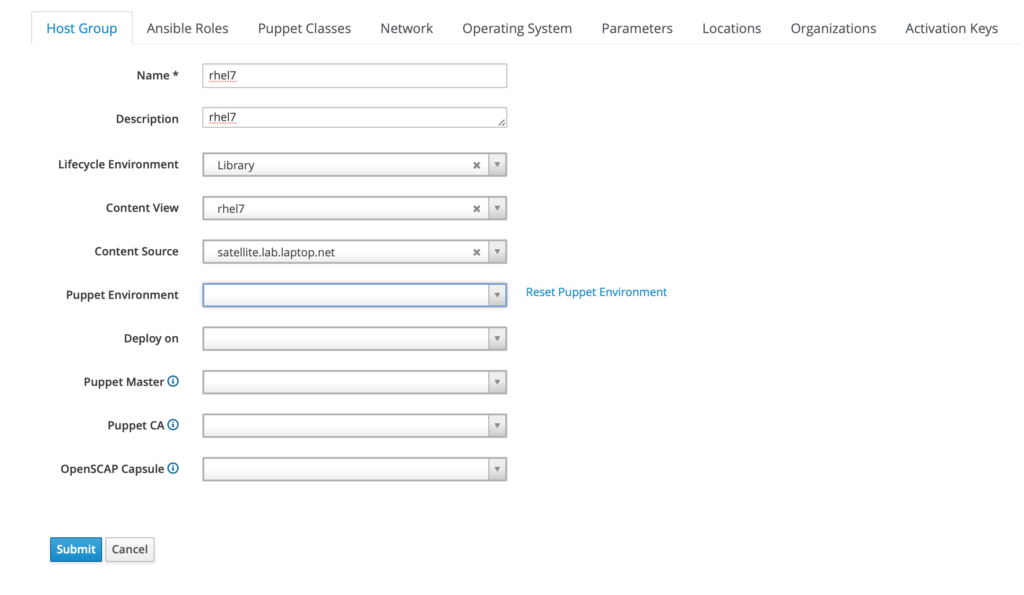
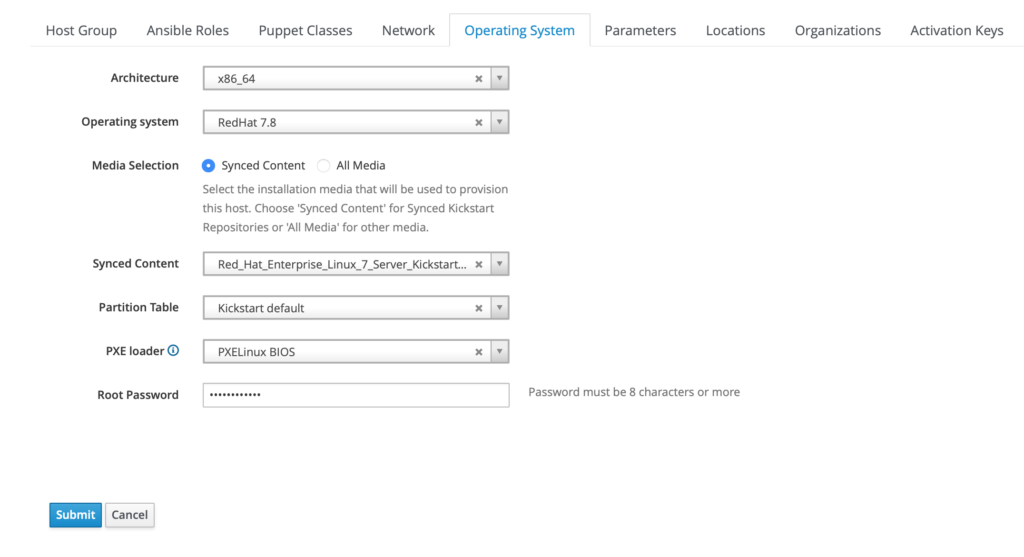
Assign the Host Group the organisation and select the rhel7 activation key on the last tab. We created this when we created the content view.
That’s it, right now we have a Satellite server that is ready to start building hosts. That’s the next part where we create the host and watch it PXE boot.